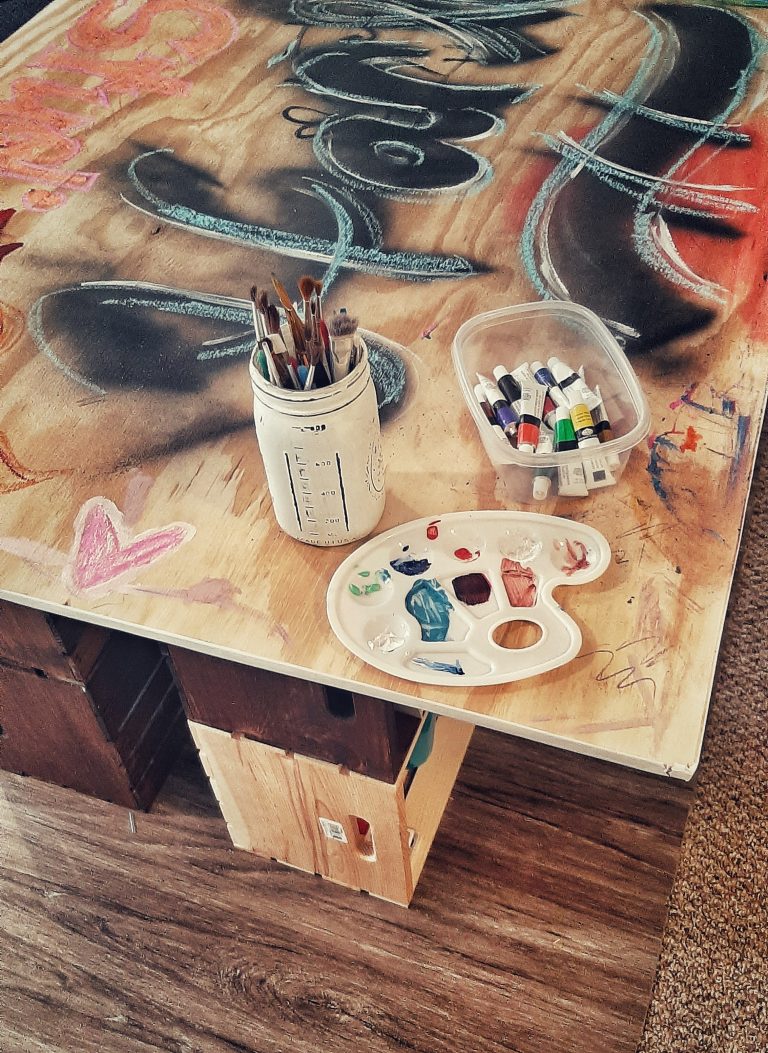
My daughter loves doing everything artsy – painting, drawing, coloring, designing things with play-doh, etc – and I wanted to give her her own space! I used new and old pieces to create something simple and functional that she can use to the fullest without worrying about spills or messes. This Perfectly Imperfect design can be adapted based on materials you already have and can be ready for paint splatter in a few hours!!
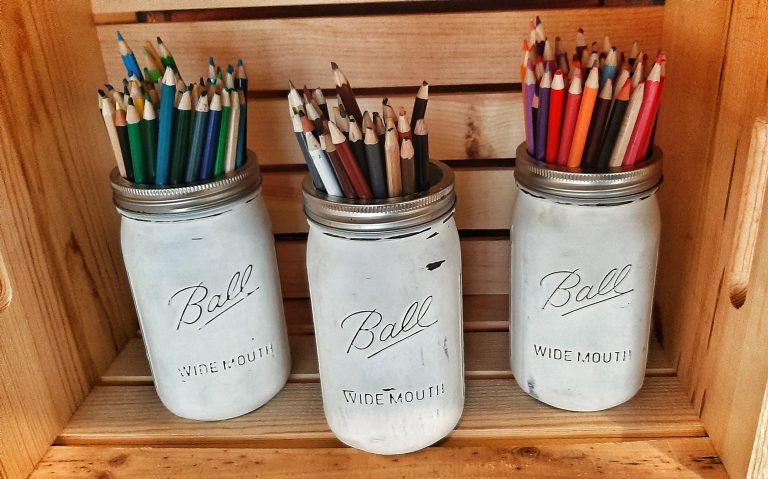
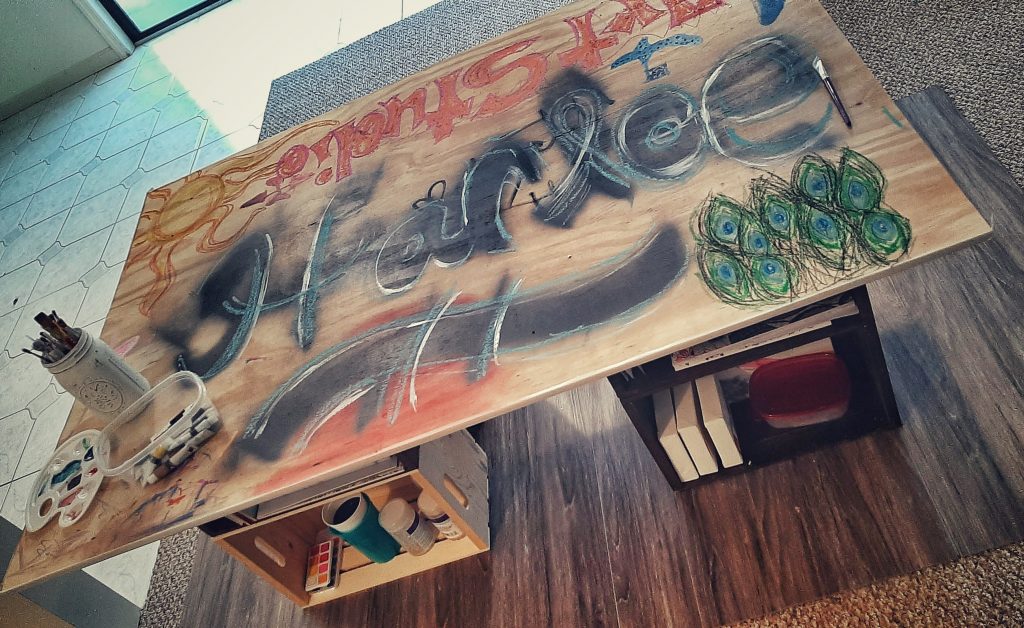
Old Mason Jars with water-beads from the Dollar Store to hold supplies
Old plastic cups
Tupperware to hold paints, chalk, pastels etc.
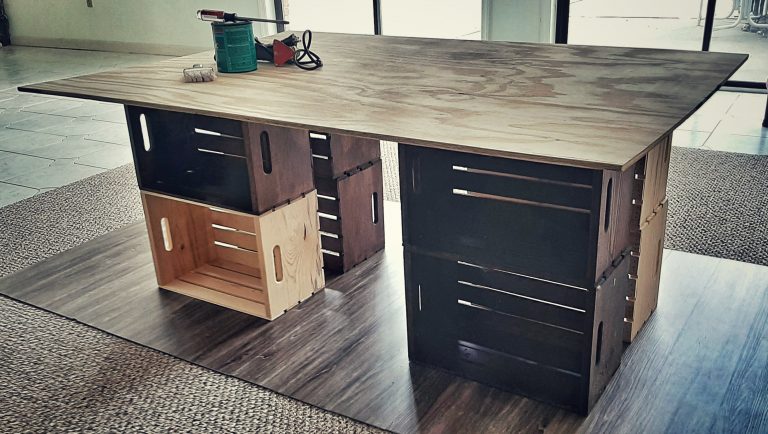
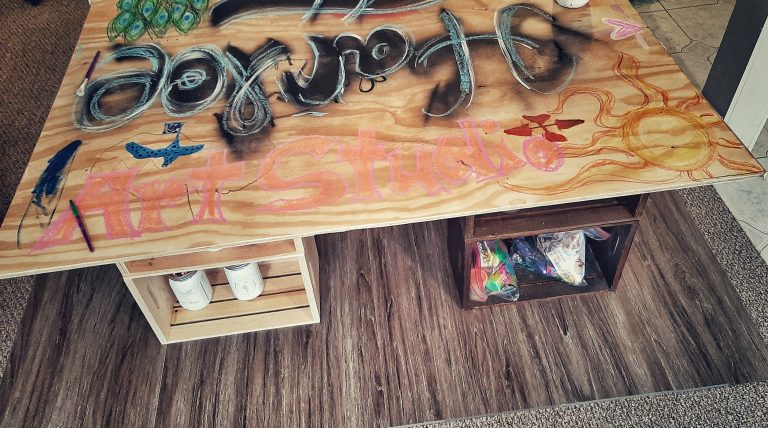
*I had 5 crates that I used for a previous project (why they are stained) so just needed to purchase 3 more. I wanted to keep this table as low-budget as possible, which is why I went with these crates as the base. Any sturdy box, pallet, bin, etc could be used in 1 way or another to make a functional table.
**I found that Plywood was the cheapest option at the hardware store for the size piece I needed. However, if you have something similar lying around (even an old mirror, large window, door, drywall etc and it’s sturdy and safe, use that!)
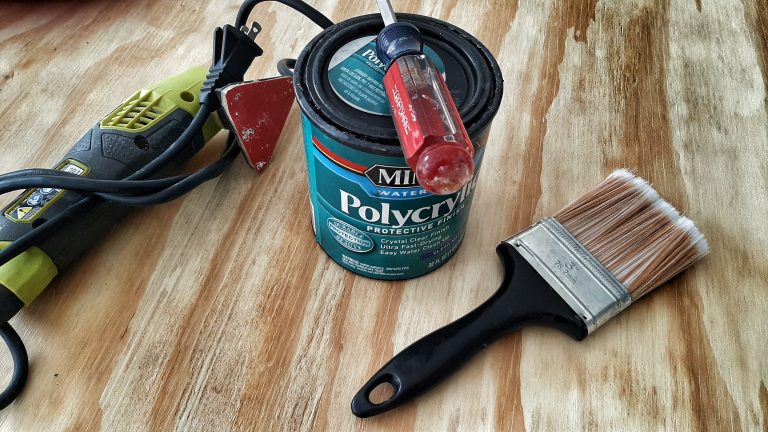
***If using Plywood you will need to protect it with something to prevent warping, water damage, etc. Those finishes will do the trick and I used one I already had on hand. Shelf paper, self-adhesive wall paper, stain, or paint can all be used to protect and even decorate the top if you like.
****I wanted to give her a space I don’t have to be concerned about when it comes to stains, etc. So protecting the carpet underneath is important. I laid some extra vinyl plank flooring we had under the table which is waterproof and allows for very easy cleanup. I recommend anything that can be wiped up easily to protect the floor underneath (extra vinyl or laminate flooring or store samples, if you don’t have it at home already, or drop cloths, plastic, etc.)
instructions
Sandall edges of your Plywood so that there are no sharp edges or splinters.
Coverwood with Finish, stain, paint, covering etc.
Set up floor covering and align Crates to the height and width of you choice.
Nailor Adhere your top to each Crate in order to prevent wobbling or any chance of the table top tipping over.
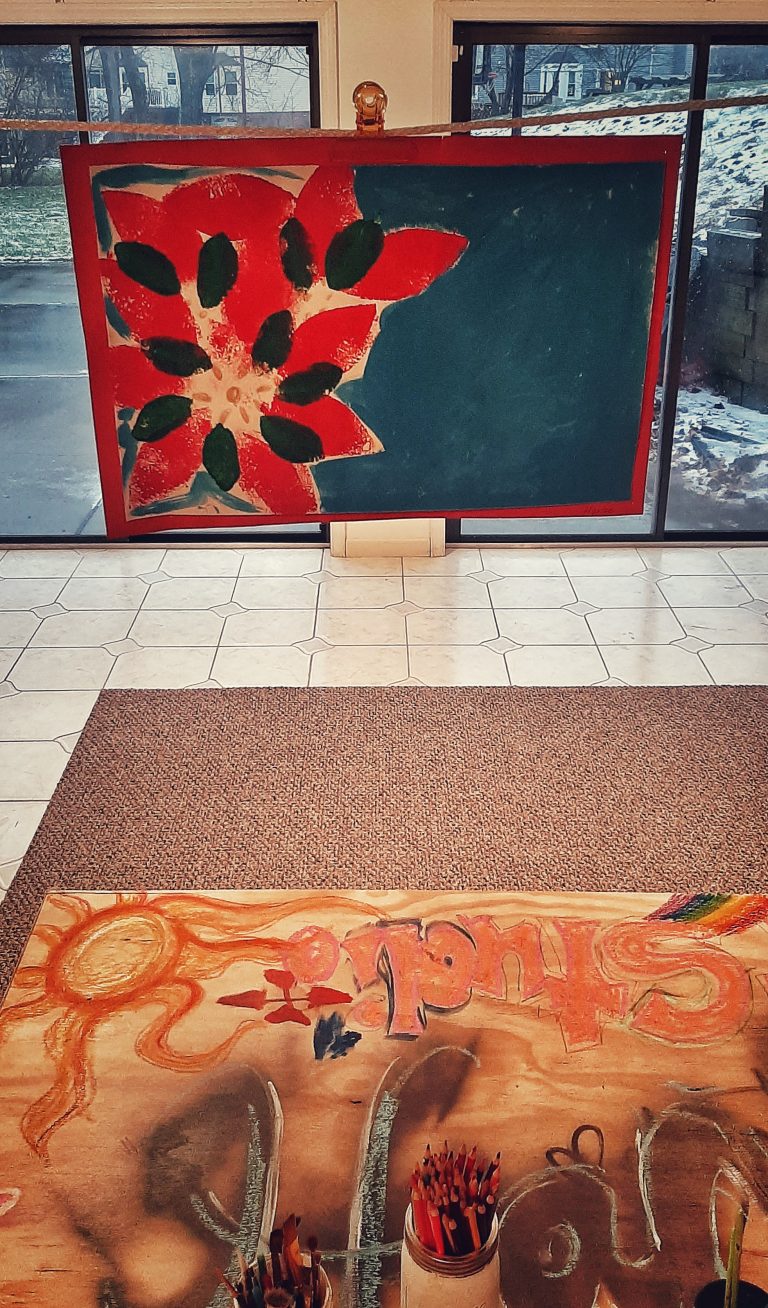
Decorate or “tag” any way you like and let those little ones start creating masterpieces!
Did you try this project? Please share any comments or suggestions below!!
2 thoughts on “Simple DIY Kids Art Table”
ROSEMARY GUERRINI
This is such a great idea for a kid to have their own worry free space to be creative.
This is such a great idea for a kid to have their own worry free space to be creative.
Exactly my intention!!