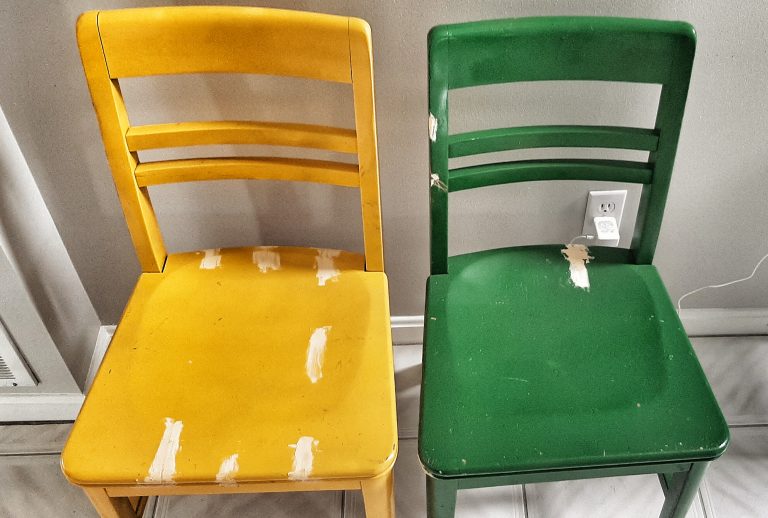
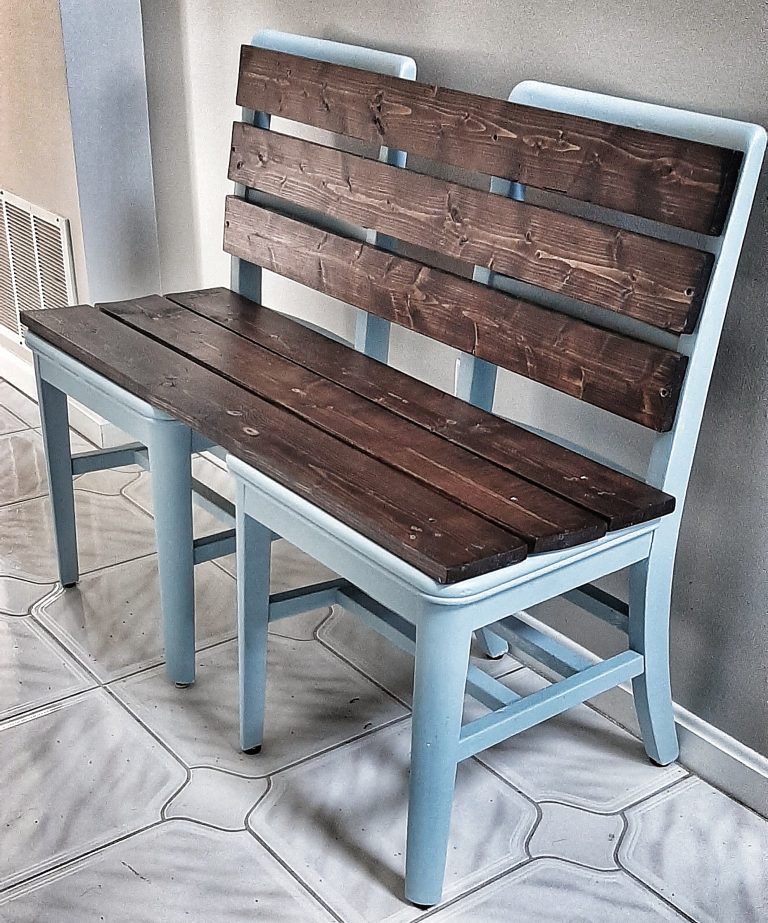
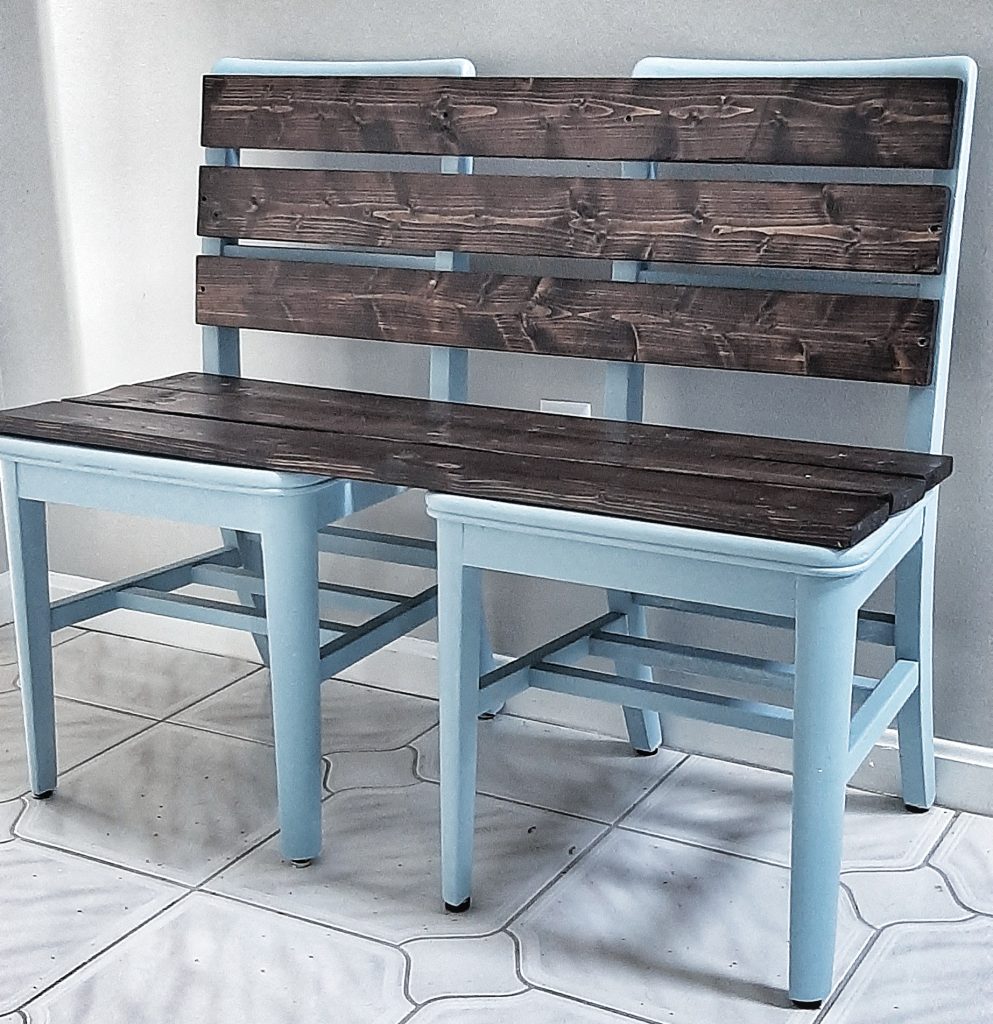
I had been struggling with what kind of bench to put in our foyer for awhile. I knew I wanted to do it myself but wasn’t thrilled with the idea of building a full bench from scratch. Then I came across the idea of adding wooden boards to old chairs, and….VOILA! This Perfectly Imperfect project is super easy and the result will be unique for everyone. So, dig out those old wooden chairs from the attic or grab some from the next yard sale you pass and start making magic!!
*The sizes of the boards are entirely up to you and also will depend on the size of the chairs. The seat boards should be touching or very close together, so measure the depth of the seat (from the back piece to the front edge) to see what size boards will work best. I used 1×5 in. boards for the seat and 1×4 in. boards for the back. Separate the chairs as much as you want to get the desired length of the bench and measure from the outside edge of one seat to the other, and one back to the other, to know how long to have the boards cut. Remember – the hardware store will cut boards for free so have your measurements ready when you buy the boards!
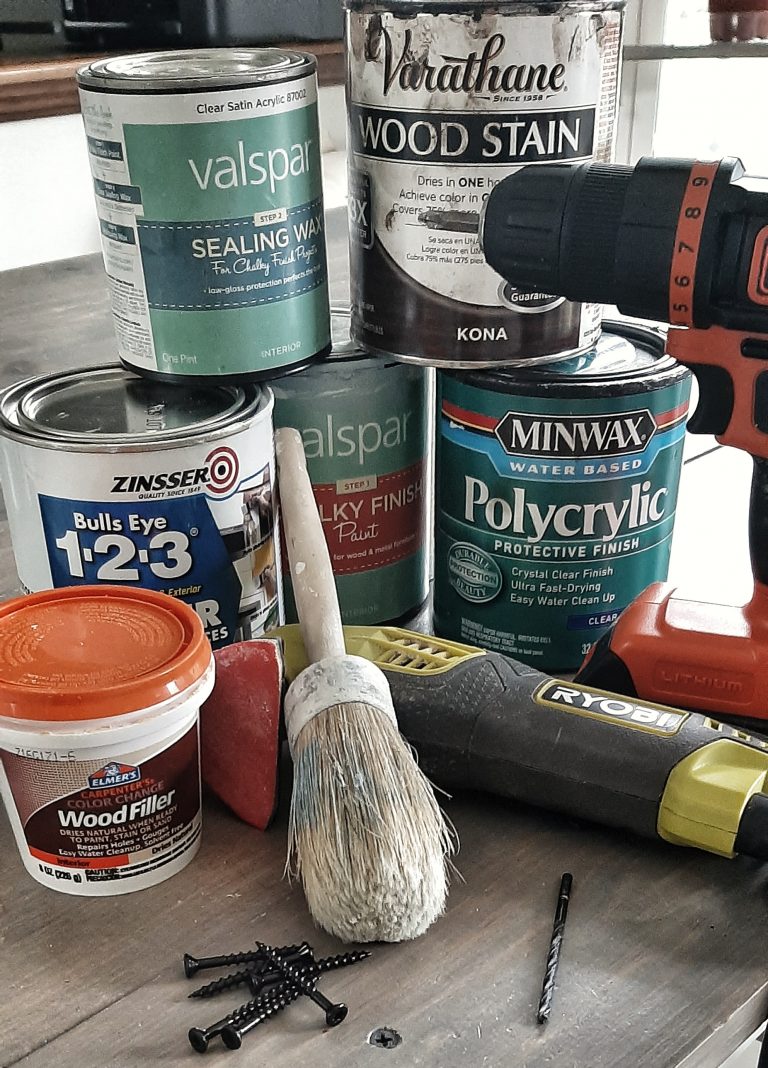
**If your chairs have damage such as cracks, holes, or rot, it can be easily fixed with a sander and some wood filler. My chairs had some minor cracks which I filled and sanded. I love this wood filler because it goes on purple and dries like a cream color so you know when it’s dry and ready to be sanded.
***This product is AMAZING! It adheres to any material and allows you to paint without sanding or stripping the finish off first.
****I love the look of Chalk Paint. My home is predominately Farmhouse style so I use that paint for most of my projects. However, if you want a more polished look use a good Furniture Paint instead. And with that, you won’t need to apply Sealing Wax. NOTE: I have had this paint from previous projects, but it looks like Valspar no longer makes the Chalky Paint for Lowes. I do know that there are exceptional Chalk Finish Paints available online and other retailers.
*****I buy cheap brushes for the priming and staining. However, when it comes to the final coat of the chalk paint you should opt for a good brush. I recommend this one – CLICK HERE.
instructions
If you need to make any minor repairsthe chairs, do that first. Use a metal spatula to fillin cracks with the Wood Filler and allow it to dry.
Using a Power Sander or Sanding Sponge, sand all sides of your Wood Boards. Make sure there are no sharp edges or splintering pieces. Wipe all the dust off with a dry cloth when finished.
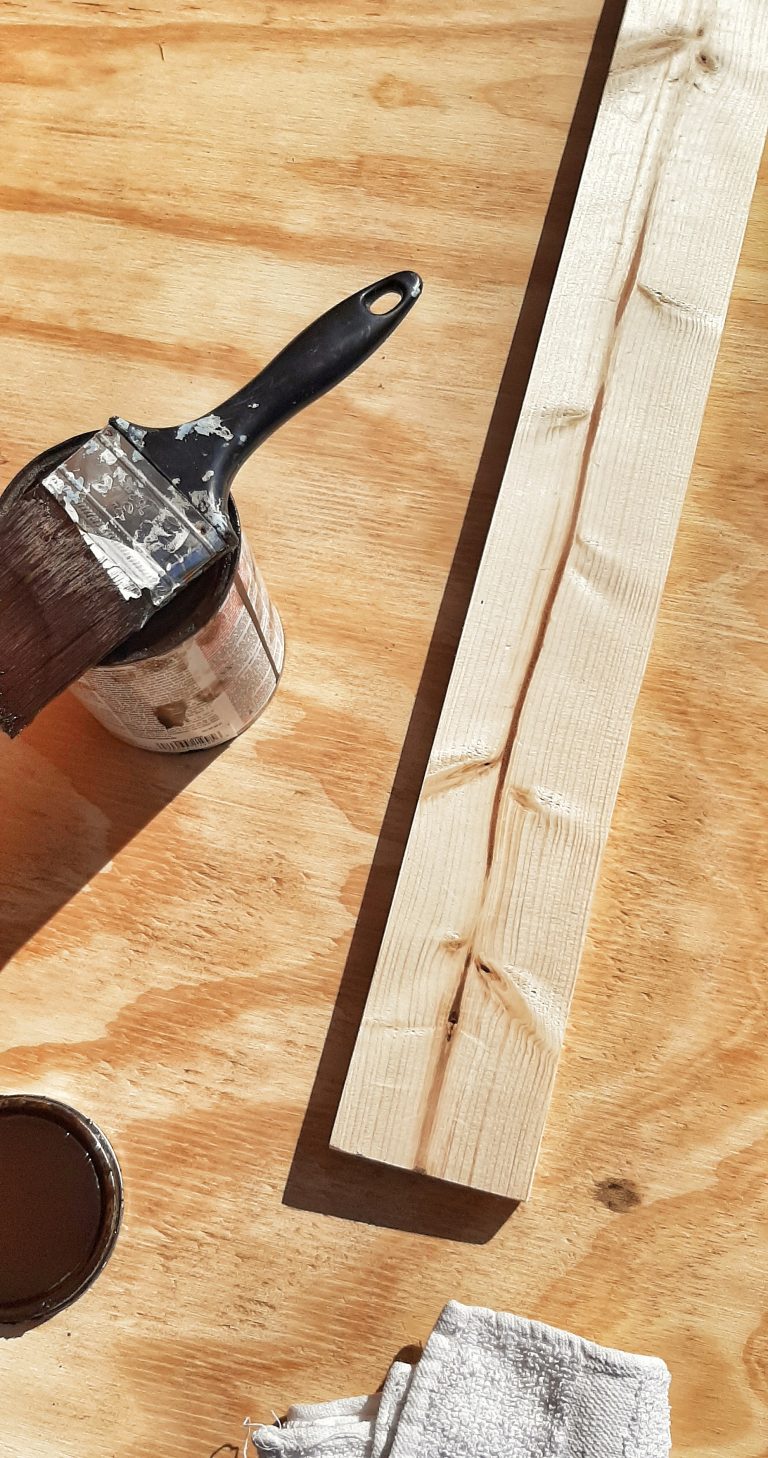
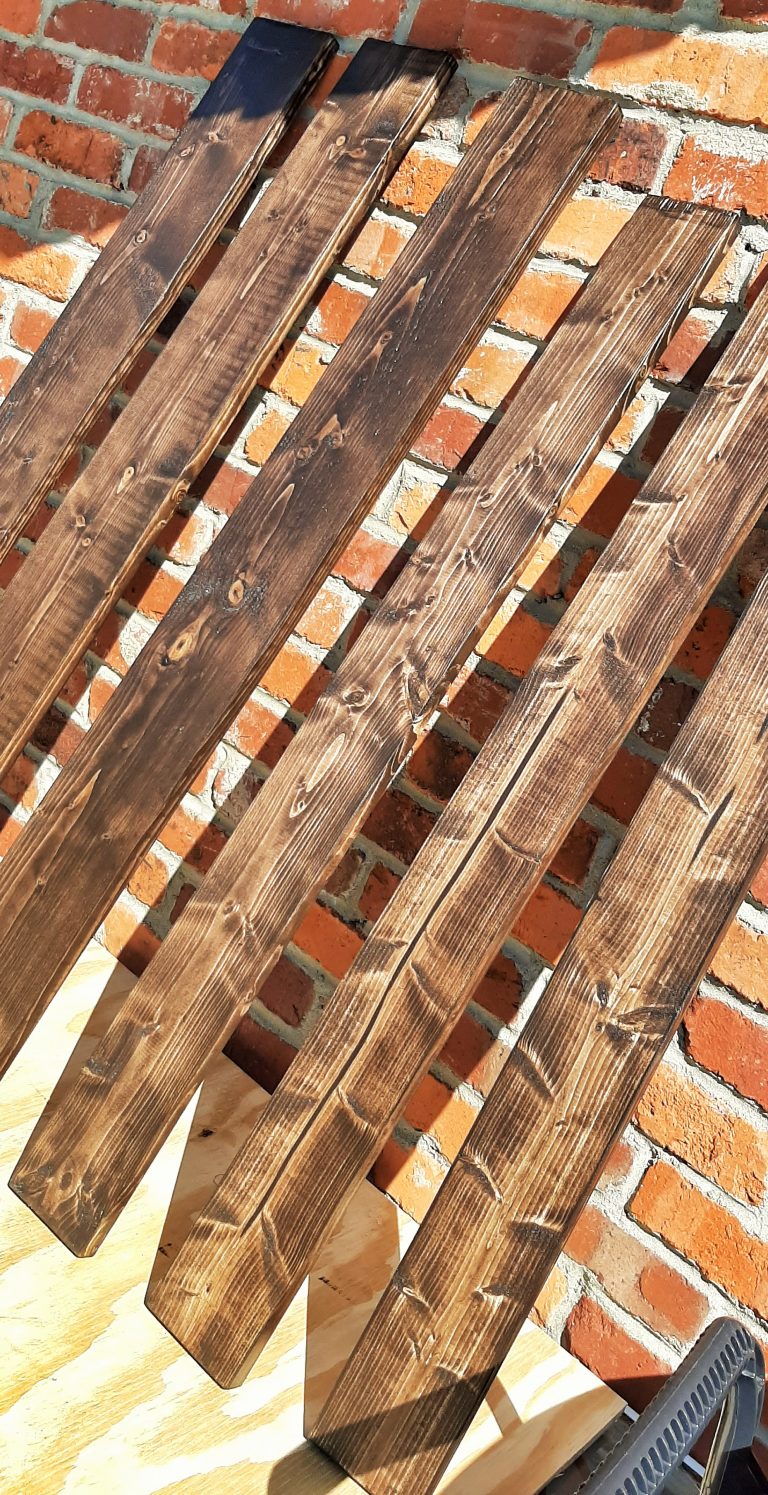
Stain the Boards. Using long brush strokes, apply the Stain, 1 side at a time. After each side is covered, use a cloth to wipe the stain completely. This will give you beautiful color while allowing the pattern of the wood to show through. Since I used such a dark stain, I only needed 1 coat to achieve the color I wanted.
Allow the Boards to dry completely. Then use another brush to apply the Polycrylic Finish. I applied 2 coats of the finish to make sure the wood will be completely protected from water and/or stains.
If you treated the Chairs with any Filler, use your Sander to removeany excess and smooth out the area. Sandany imperfections or sharp edges as well. Again, use a dry cloth to remove any dust.
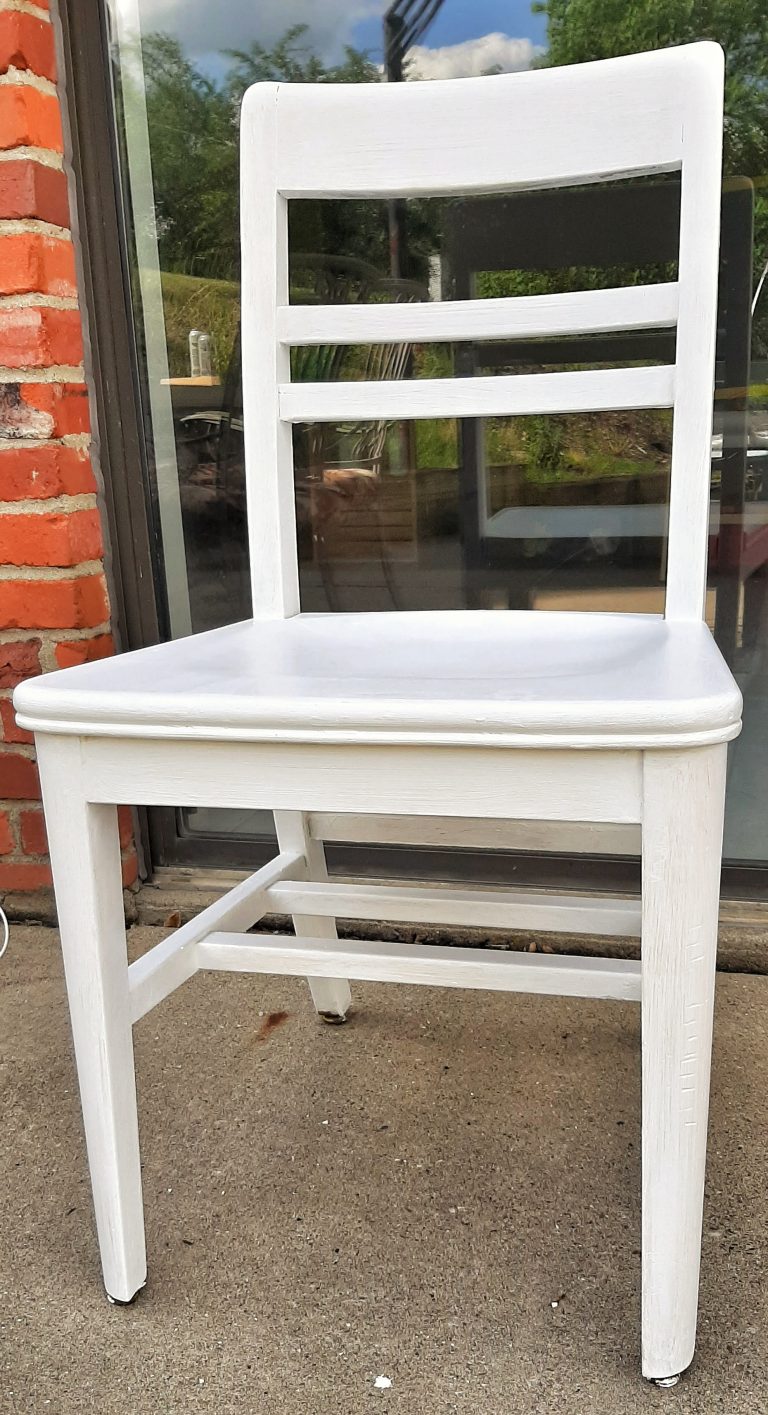
Apply 1-2 coats of the Primer. Don’t worry about being too careful with the application since it is only the Primer. Just make sure to pay attention to any drips because those will show through. Allow the Primer to dry completely in between coats.
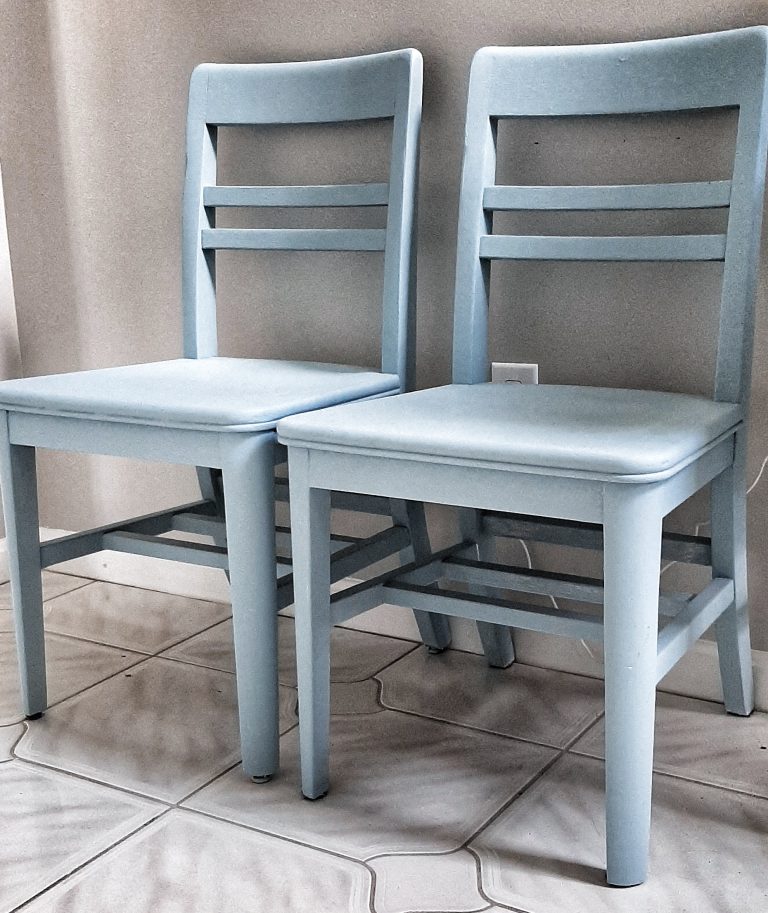
Apply 1-2 coats of your Paint. If doing 1 coat, make sure to use a good brush and paint in long strokes in 1 direction. If doing 2 coats, the first coat can be applied relatively quickly, again just make sure not to allow any drips.
Once the Paint is dry, use a brush or a cloth to apply the Sealing Wax. You don’t need a whole lot of it, but use enough to fully cover the painted surfaces. Once you have completed 1 Chair, use a dry cloth and wipe everywhereyou applied the Wax. (Wax on and Wax off!) *Couldn’t help myself 🙂
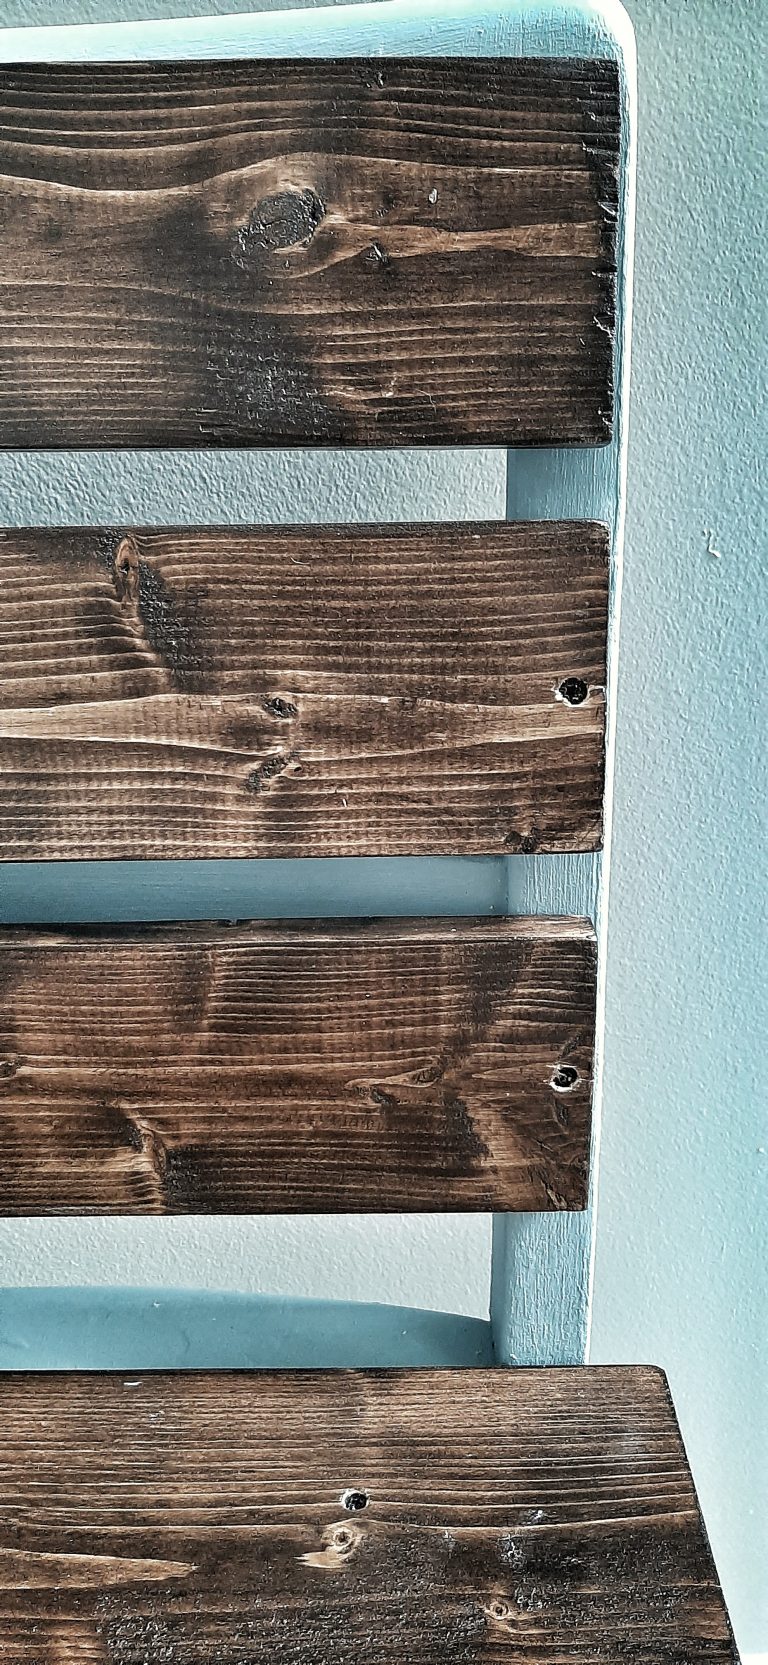
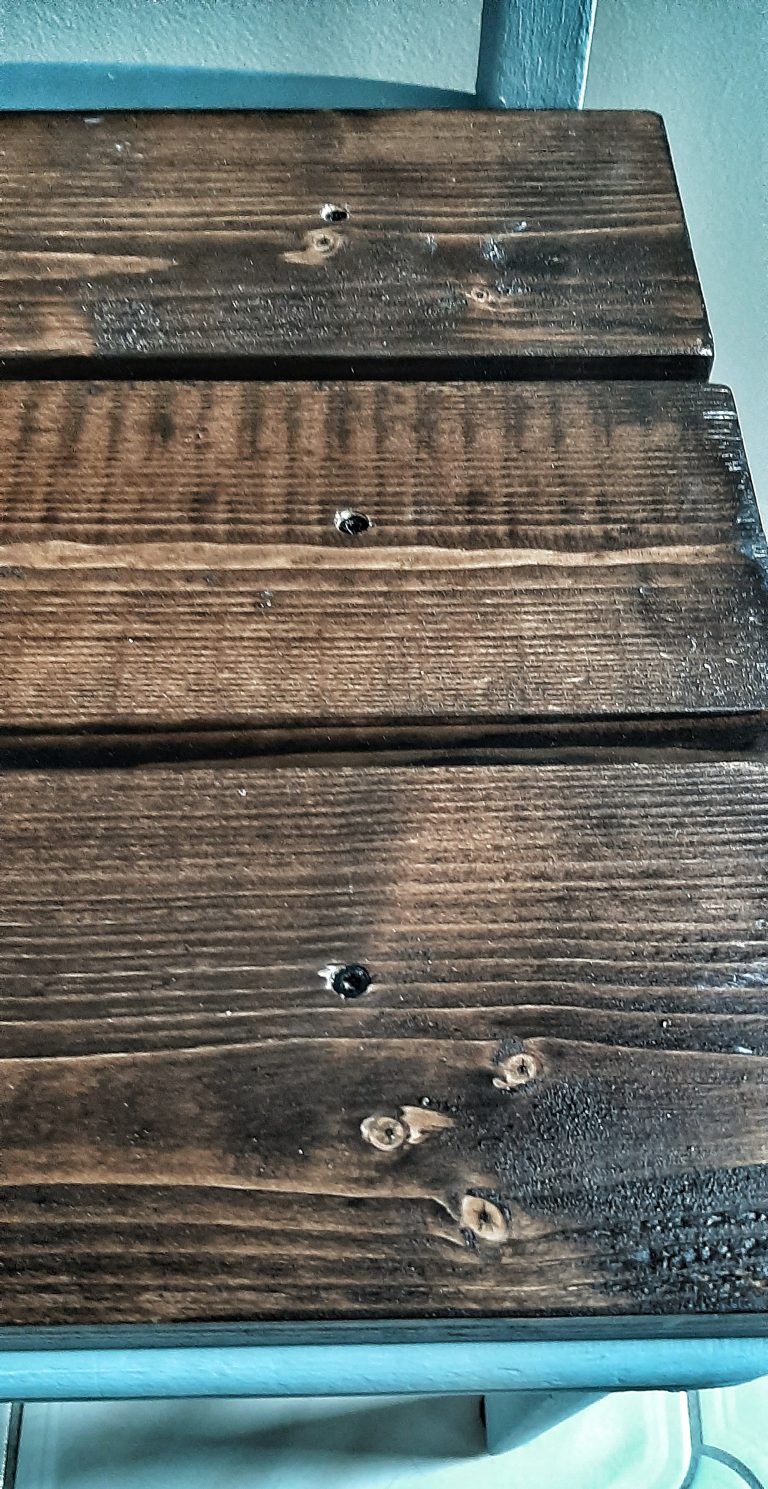
Lay the Wood Boards on the Chair seats exactly where you want them.Evenly place the back piece so that it is evenly lined up with the backs of the Chairs. Then the front piece, making it straight with the front edges of the Chairs as well as the sides. Place the middle piece evenly between those.
Using your Drill and appropriate sized Bit, Drill holes through the Wood and the Chairs to make it easier to Drill in the Screws. I placed mine about 4 in. from the edge and 2 in. from the sides. Wherever you choose to place your Screws make sure that there is no other hardware in the Chairs that will get in your way. Drill the Screws into the pre-made holes.
Repeat steps 9 and 10 with the back Boards. The easiest way is to lay the bench down so the backs of the Chairs are on the floor. This way the Boards won’t move as you Drill your holes and Screws. Depending on the look you want, separate the Boards or place them all together. Either way it will look great.
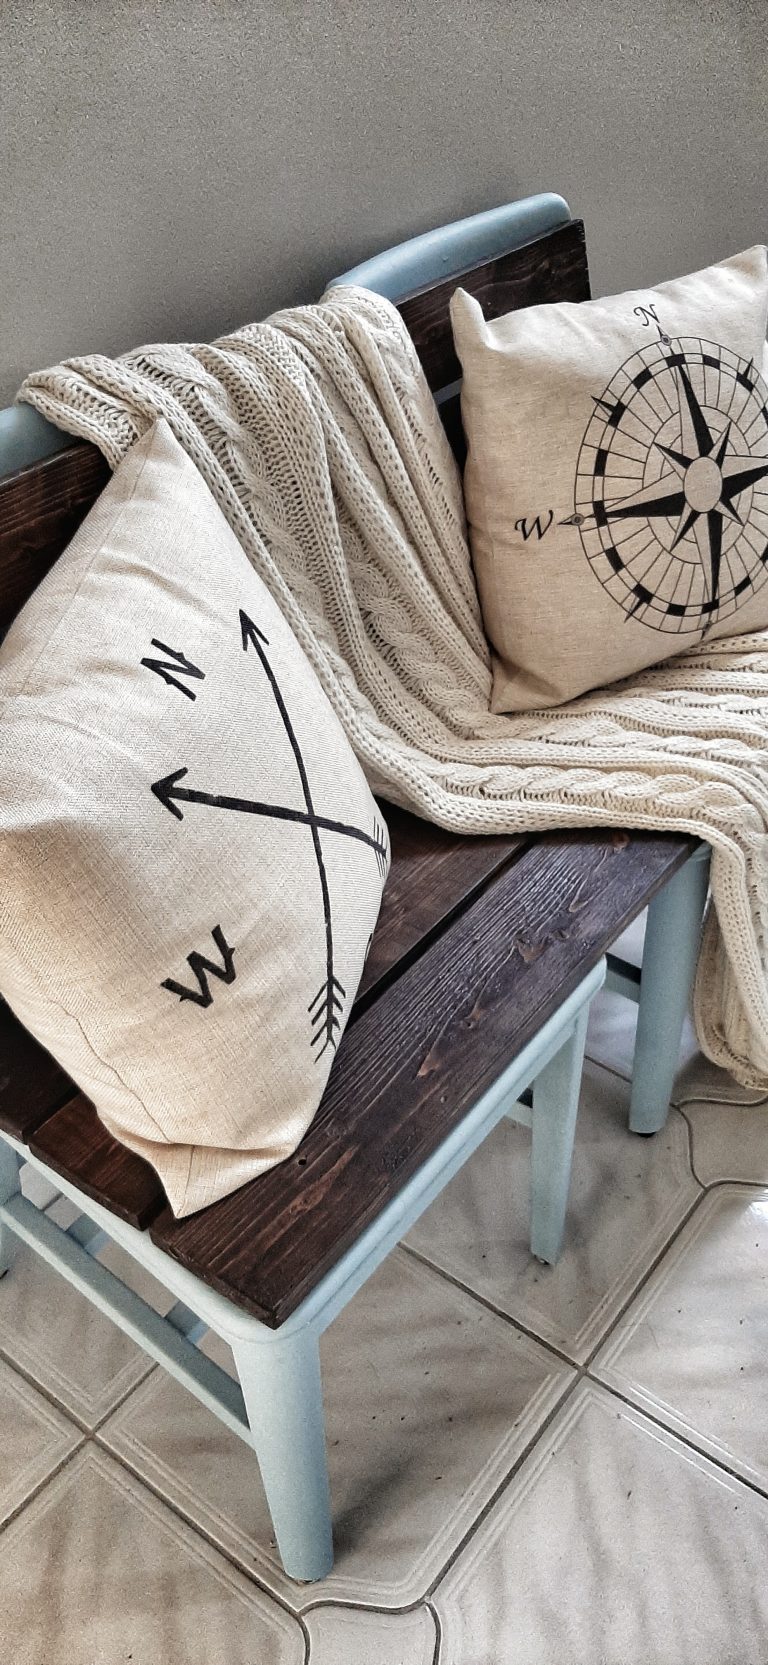
Flip your new bench right-side up and admire a work well done. YOU DID IT!!
Did you try this project? Please share any comments or suggestions below!!