PUBLISHED: 10/14/2019
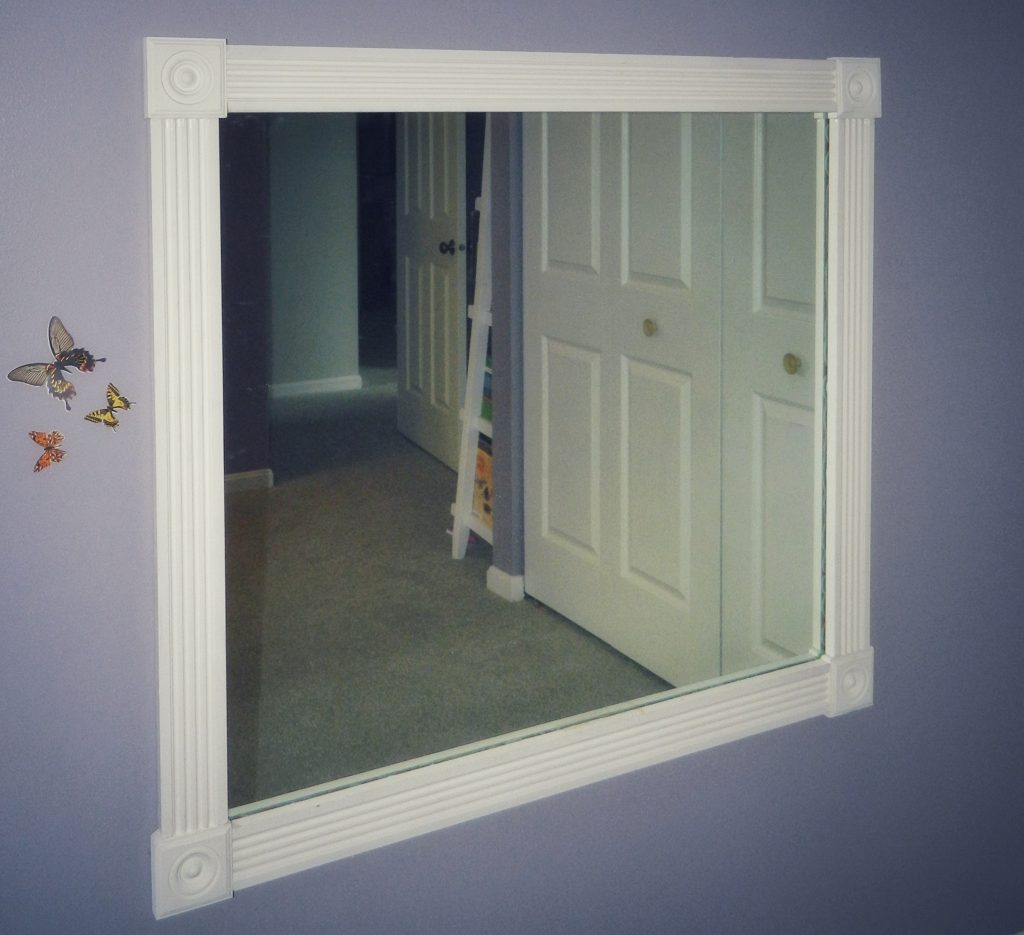
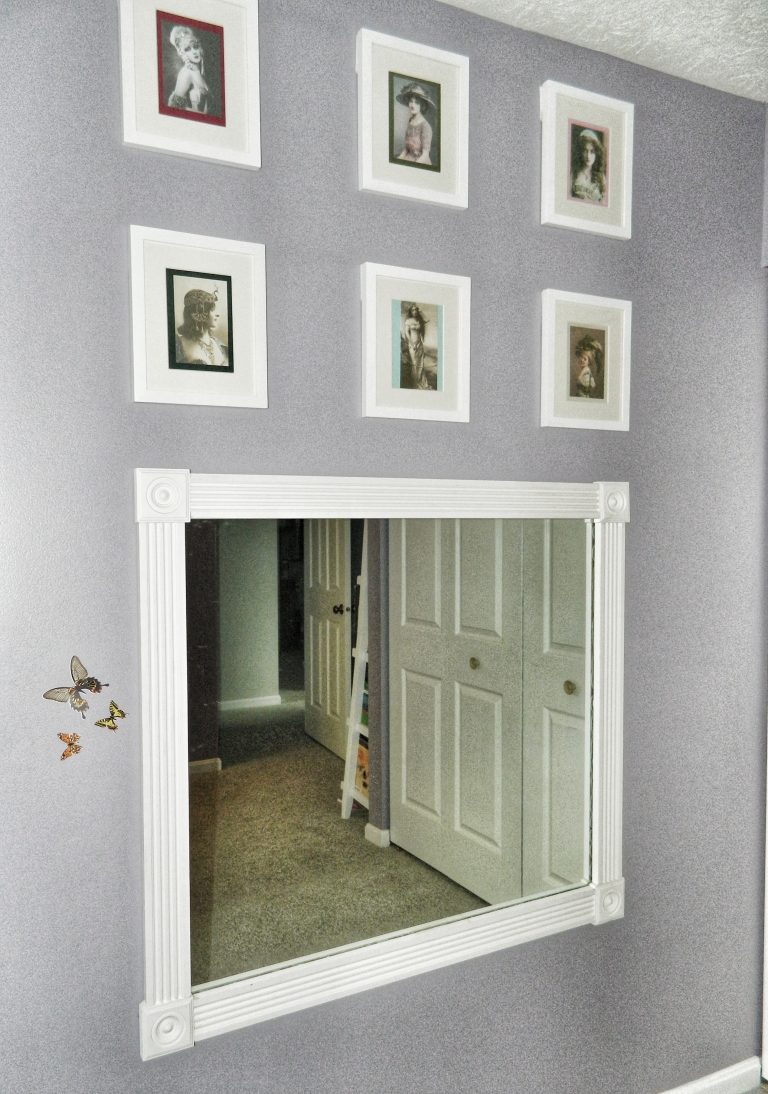
This Perfectly Imperfect project is a fabulous way to transform an old mirror into a beautiful wall decoration. I hung this in my young daughter’s room, but it would look great in any room of your house! There are only a few steps and materials needed so it can be finished in no time at all!
materials/tools
- Old cheap Mirror (no hardware or wood on the back)
- 4 3.75in x 3.75in White Hardwood Rosettes
- 4 pieces of White Ornamental Fluted Casing (3 in wide)*
- 2 tubes of Multipurpose Construction Adhesive
- Painters Tape
- 2 Screws
- Sanding Sponge
- White Latex Caulk
- Caulk Gun (must have to use tubed adhesives)
- Putty Knife
- Power Drill
- Tape measure
- Hand saw
*Measure your mirror’s length and width to determine how many ft. of the Casing you will need. The hardware store will not cut these for you so make sure to have extra in case you cut wrong at home
instructions
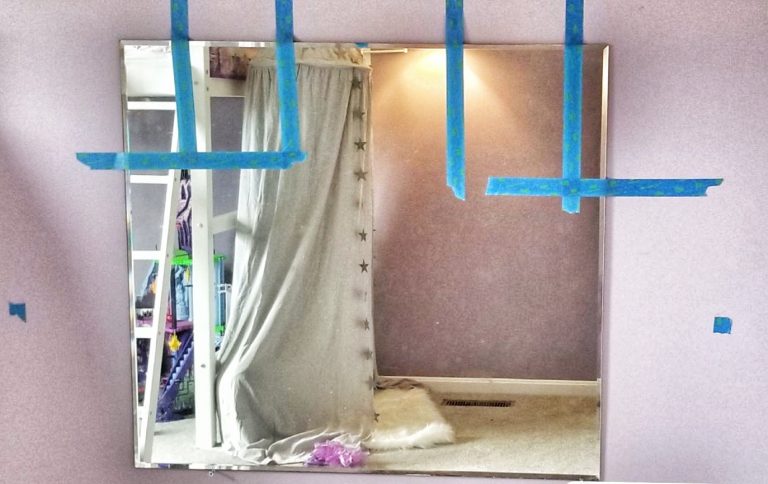
- Cover the back of the Mirror with the Adhesive. Squeeze it out in long, zig-zag lines, then smooth it into an even coating with a putty knife.
- Carefully place the Mirror onto the wall (probably need two people for this) and press firmly and evenly over the entire mirror. Apply pressure for 5 minutes before letting go.
- Drill 2 screws directly under the mirror on the bottom. Make sure to drill so the head of the screw is flush with the edge of the Mirror. (They will be covered once you place the Casings.)
- Using the Painter’s Tape, cover the mirror in multiple areas to hold in to the wall while it dries. This should prevent it from sliding in any direction.
- Let the Adhesive dry completely before doing anything else.
- Apply 2 Rosettes to the Mirror’s corners (1 top left and 1 top right). Apply the Adhesive to the back of the Rosette, but only on the part that will touch the Mirror (about 1 square in.) Make sure to place the Rosette so that it doesn’t wobble – the corner of the Mirror should be pretty centered behind it and it shouldn’t touch the wall at all.
- Measure the length between the Rosettes and cut 2 equal pieces of Casing to that length plus 1/4in. Then sand the cut edge until smooth. Make sure it will fit between the two Rosettes. If it is too long, keep sanding the edges down until it will slide in.
- Apply the Adhesive to the only portion that will touch the mirror and center the Casing edges with the Rosettes. Press firmly for 5 a few minutes, then use the Painter’s tape to keep in place while it dries.
- Repeat the process with the other 2 Rosettes and Casing pieces.
- If there are significant gaps between any of the Rosettes and pieces of Casing, use the Caulk to fill them in. Remove any extra and make sure to smooth it out flush with the Casings. Once it dries it will make the whole frame look like it’s one piece!
- Use a razor blade to scrape off any excess caulk or adhesive from the mirror once everything is dry.
- Step back and admire your fabulous new wall mirror!!
Did you try this project? Please share any comments or suggestions below!!